The easiest way to order, minus the complexity
An intuitive interface lowers the barrier to ordering and gets the most out of how your floor runs. See the guide below — it works in just a few simple steps.
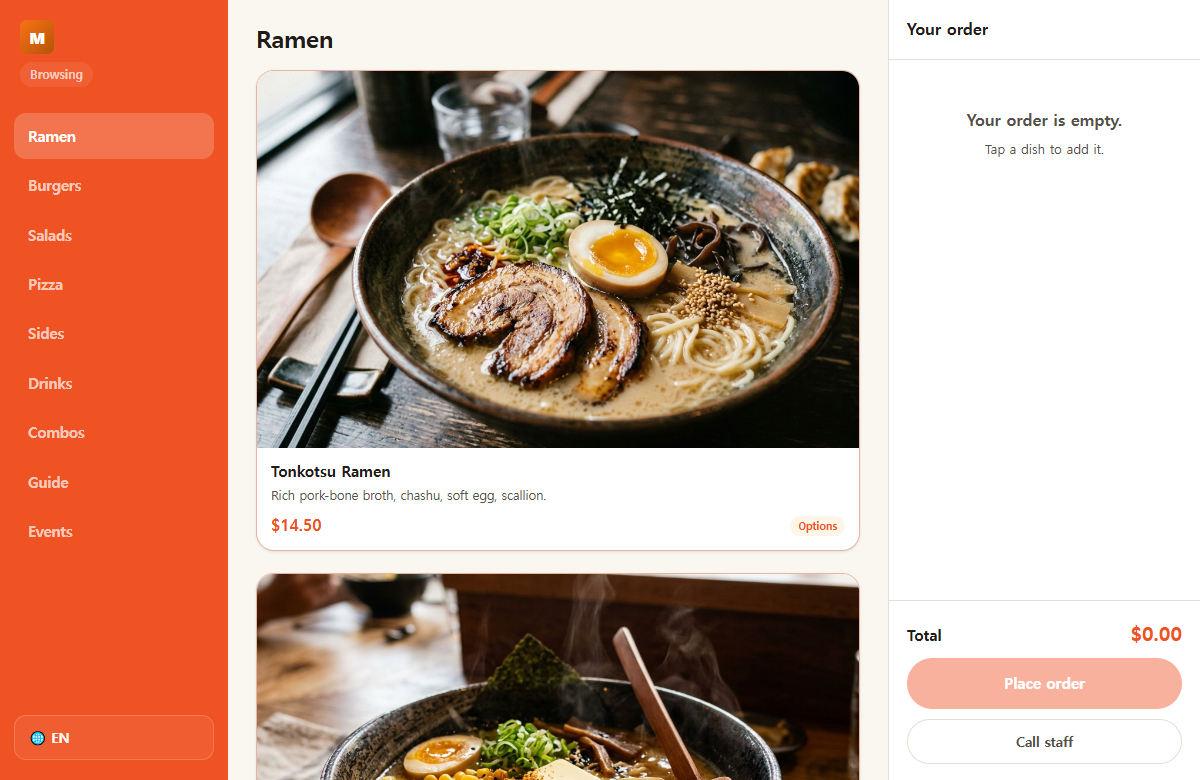 Guests pick their language The order screen opens in English by default.
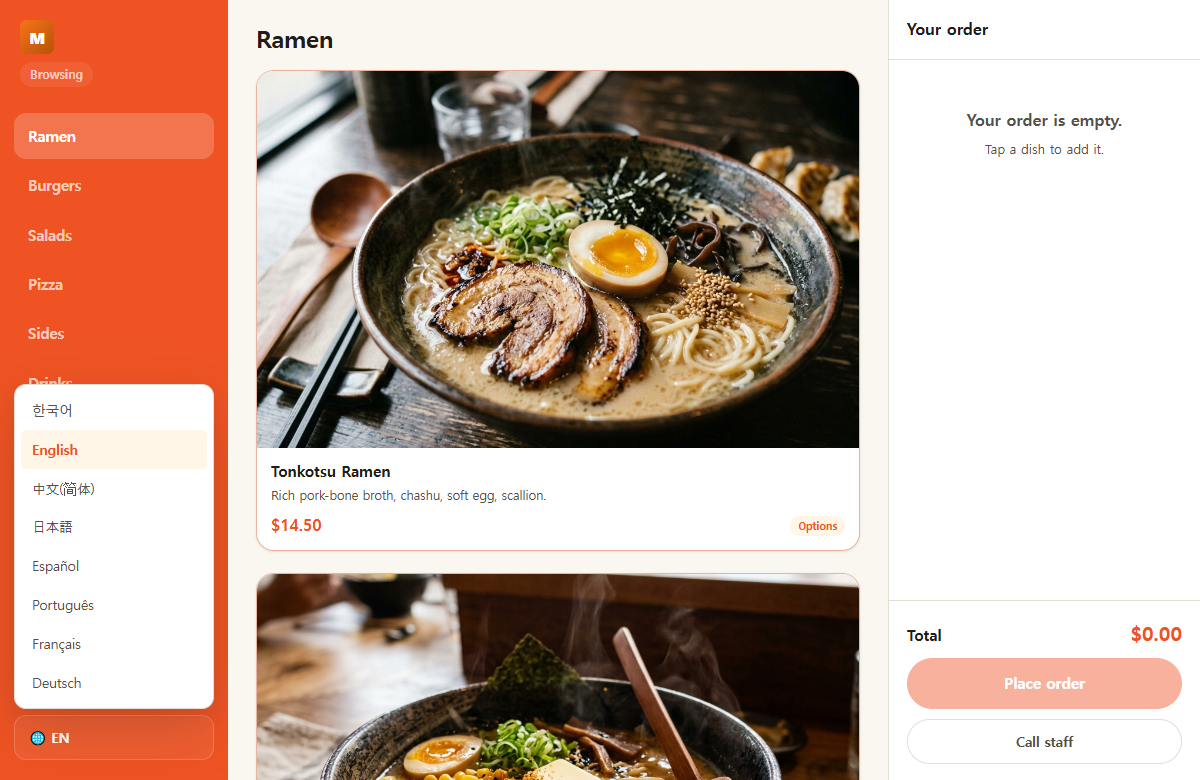 One tap to switch The language picker slides up from the corner.
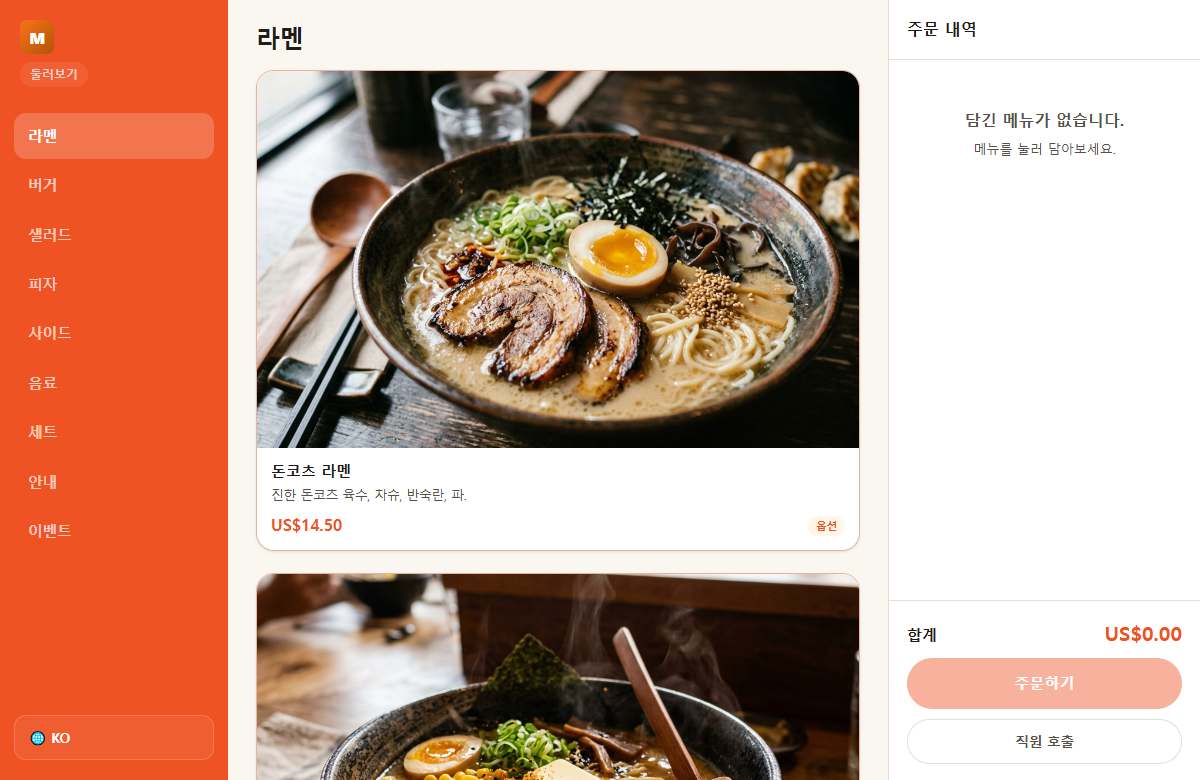 Instantly in Korean Menu, prices and options — all translated.
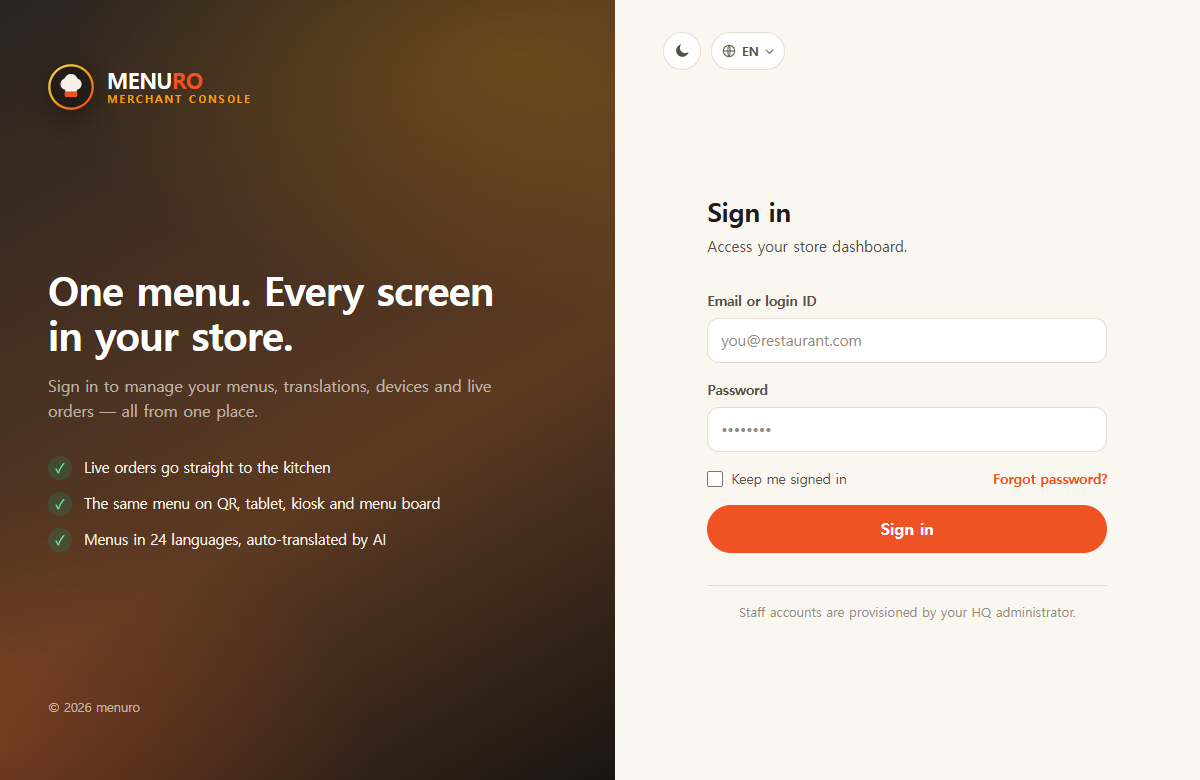 Admins choose too Sign in to the console.
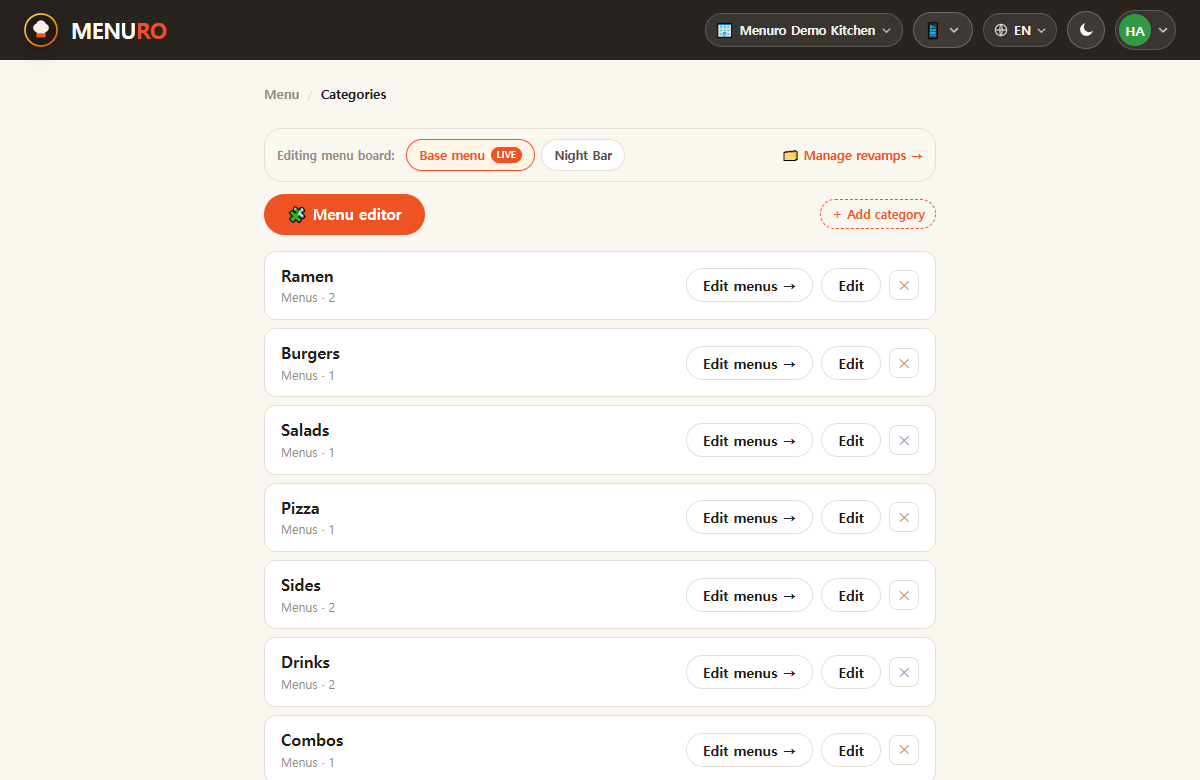 Console in English Manage your menu in the language you prefer.
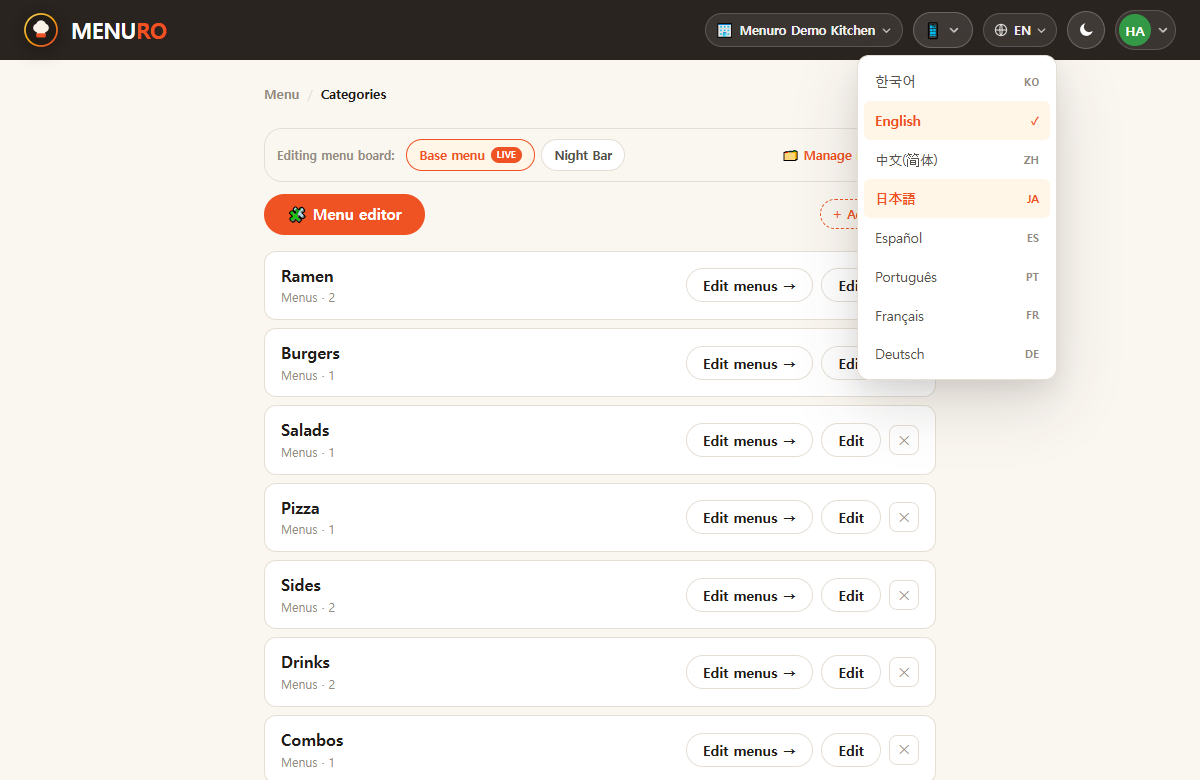 Switch the console language Pick Japanese from the top bar.
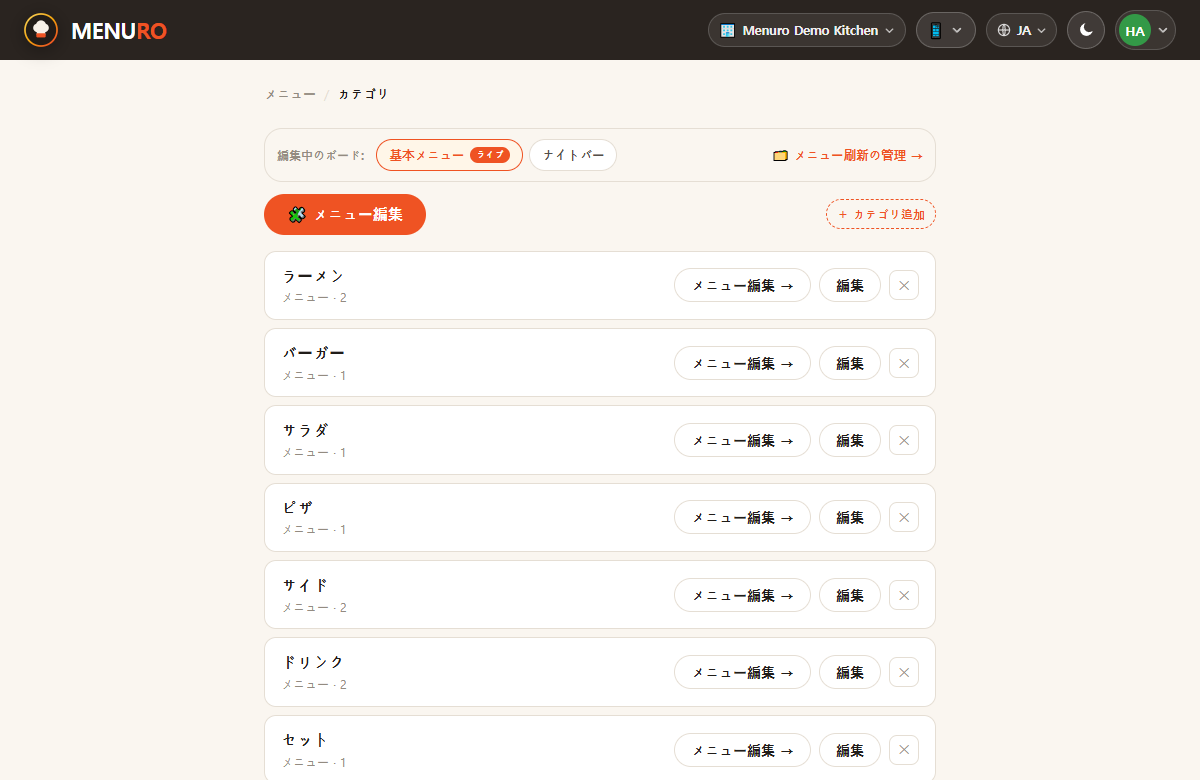 Now in Japanese The whole console follows along.
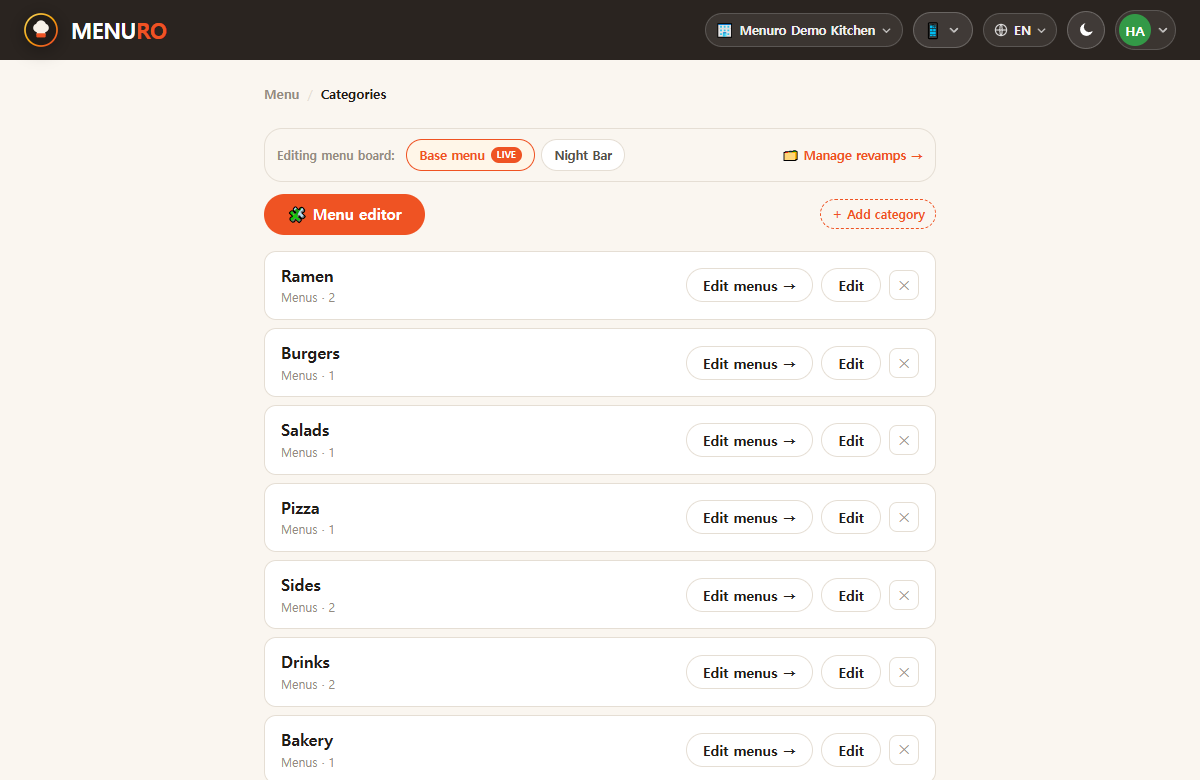 Open the menu editor All your categories live in one place.
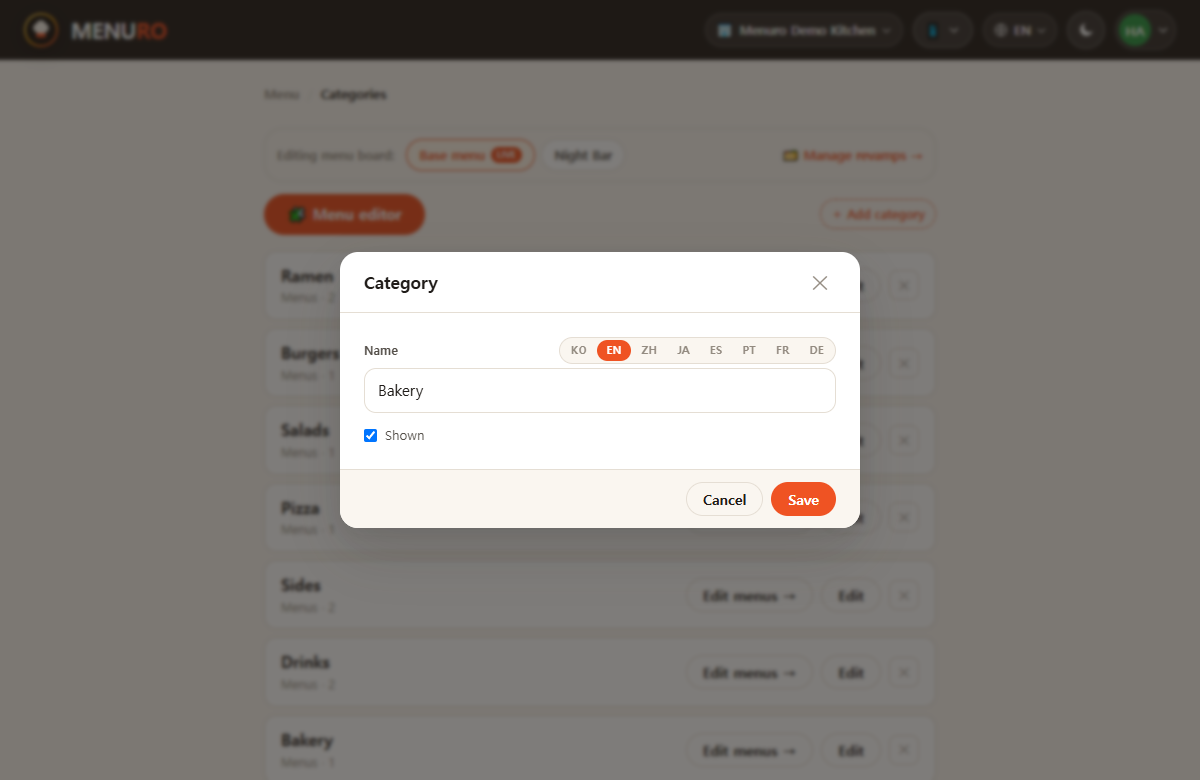 Add a category Name it — say, Bakery.
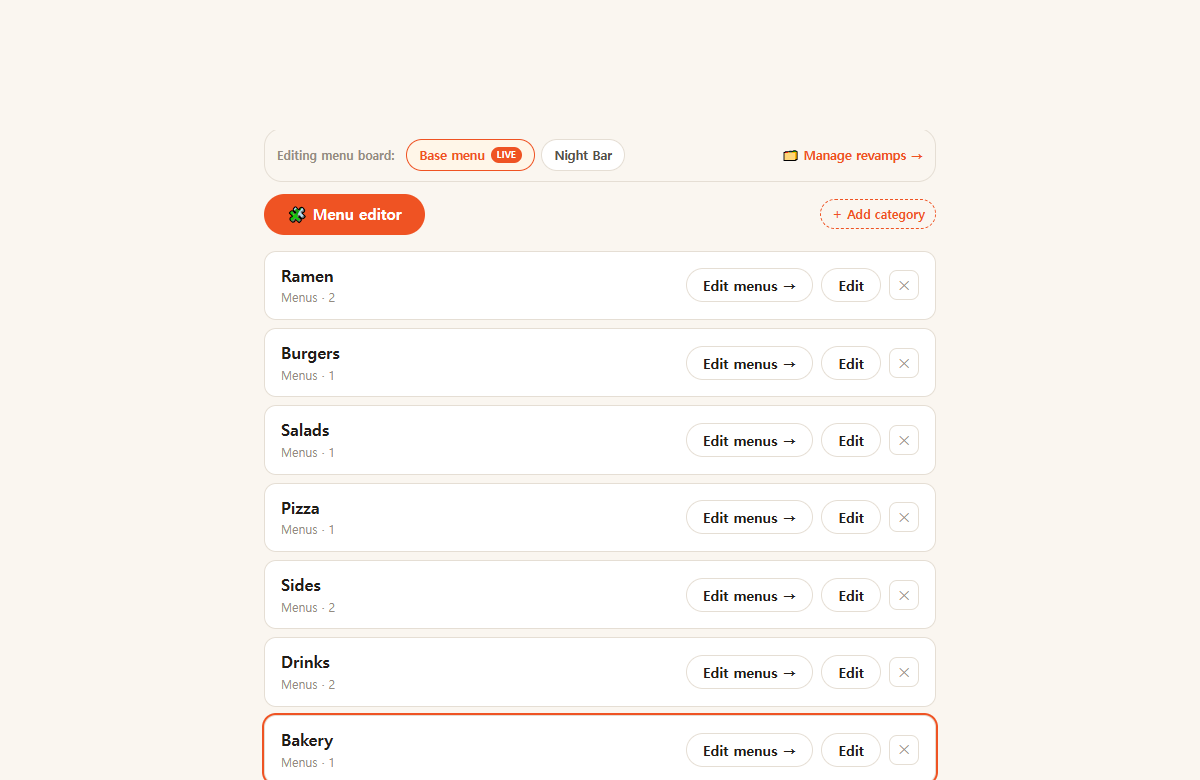 Bakery is in It shows up right away.
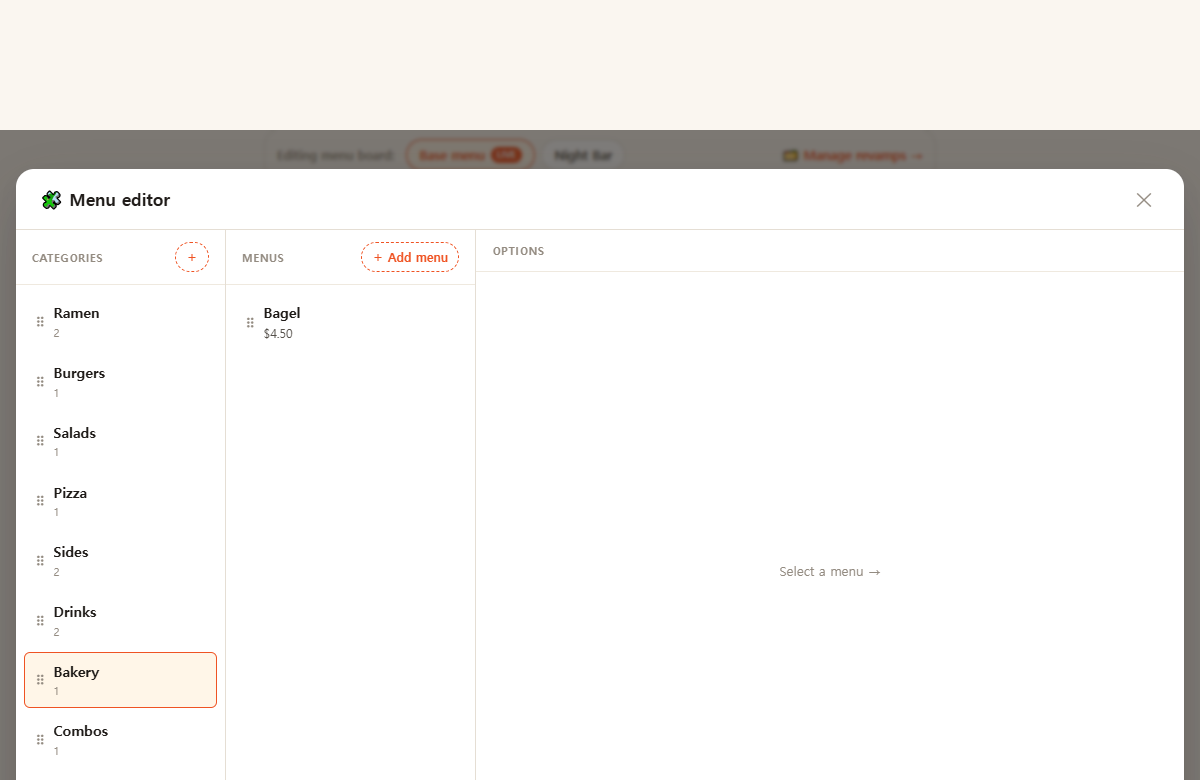 Pick the category Open it to add dishes.
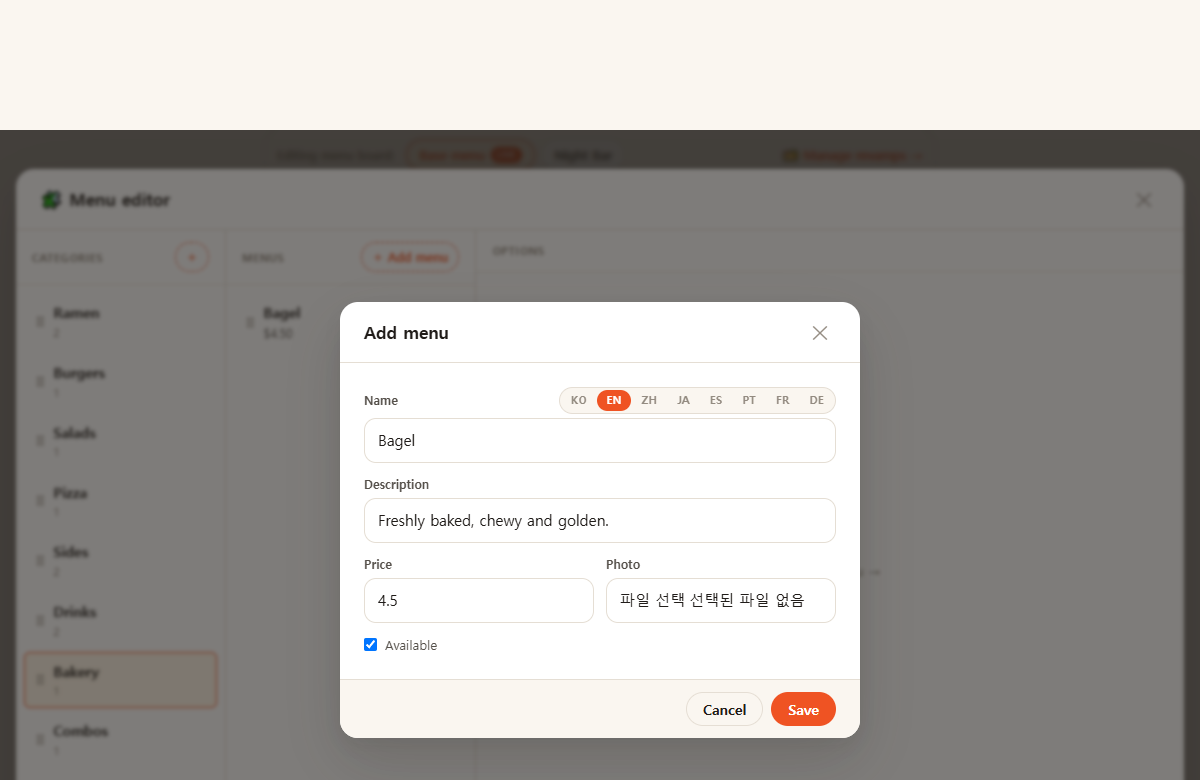 Add a dish Bagel — set a price and a photo.
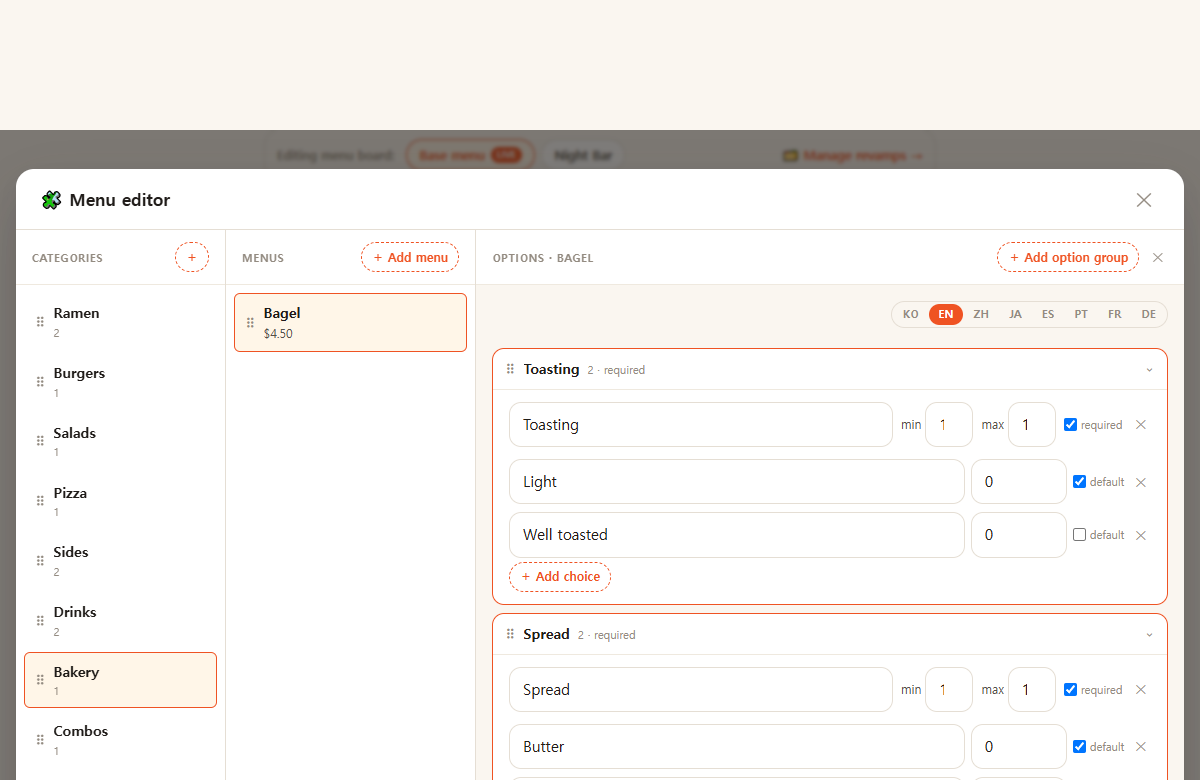 Add options Toasting and spread — two quick picks.
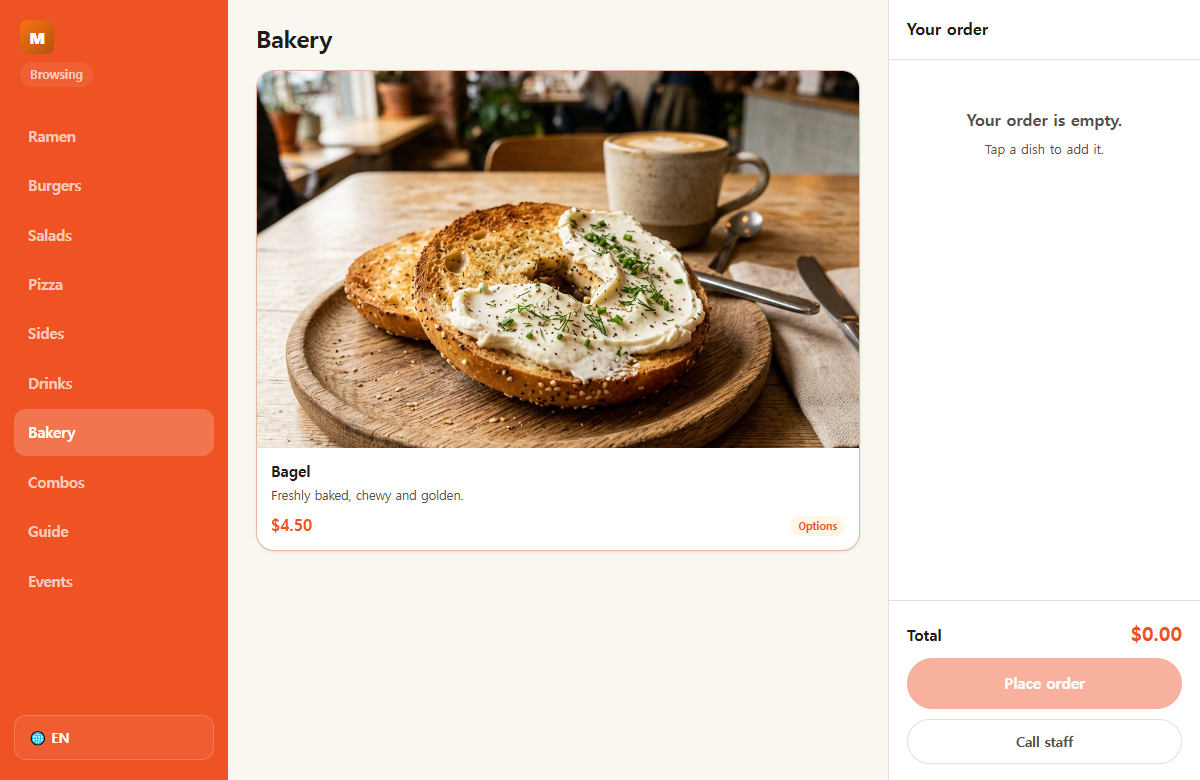 Live for guests The new Bagel is on the menu.
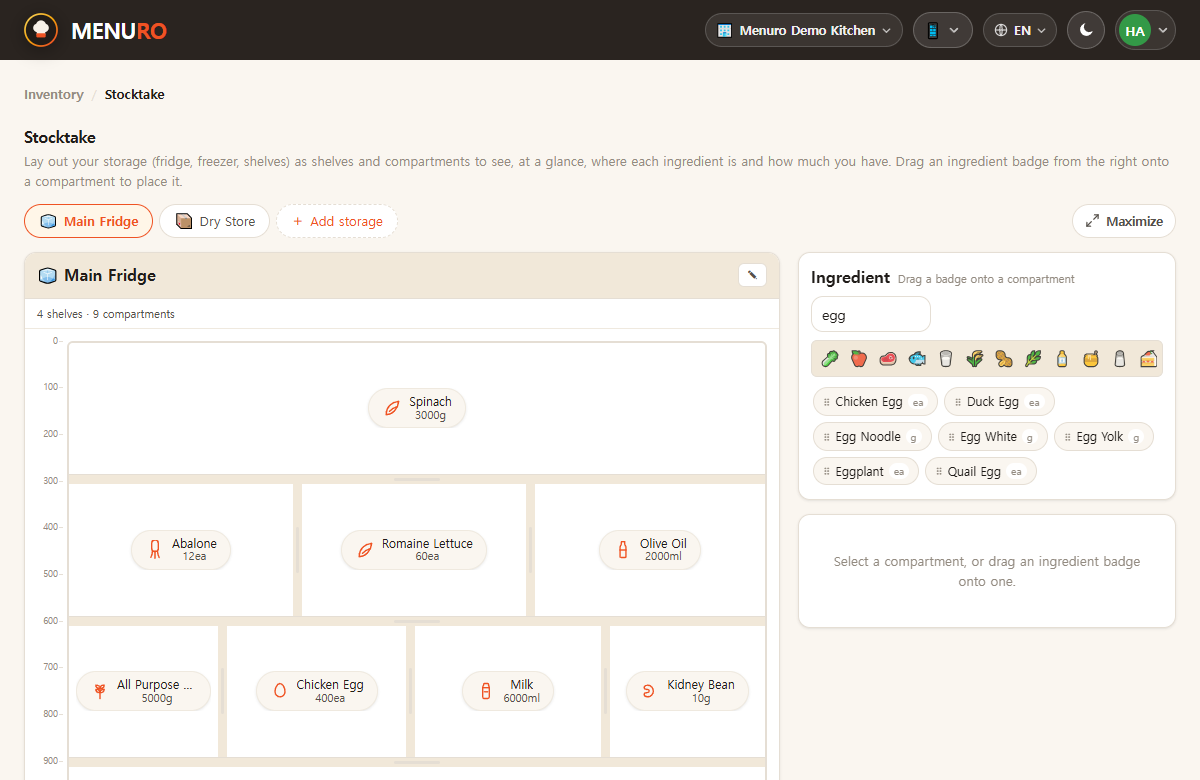 Find an ingredient Search the palette — say, egg.
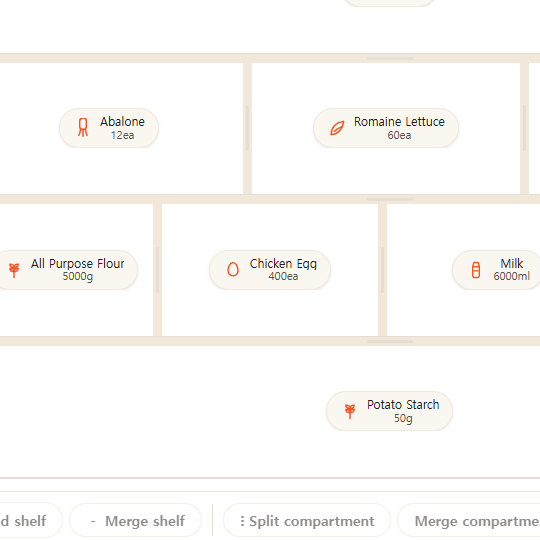 Drag it onto a shelf Drop egg into the fridge, next to flour and milk.
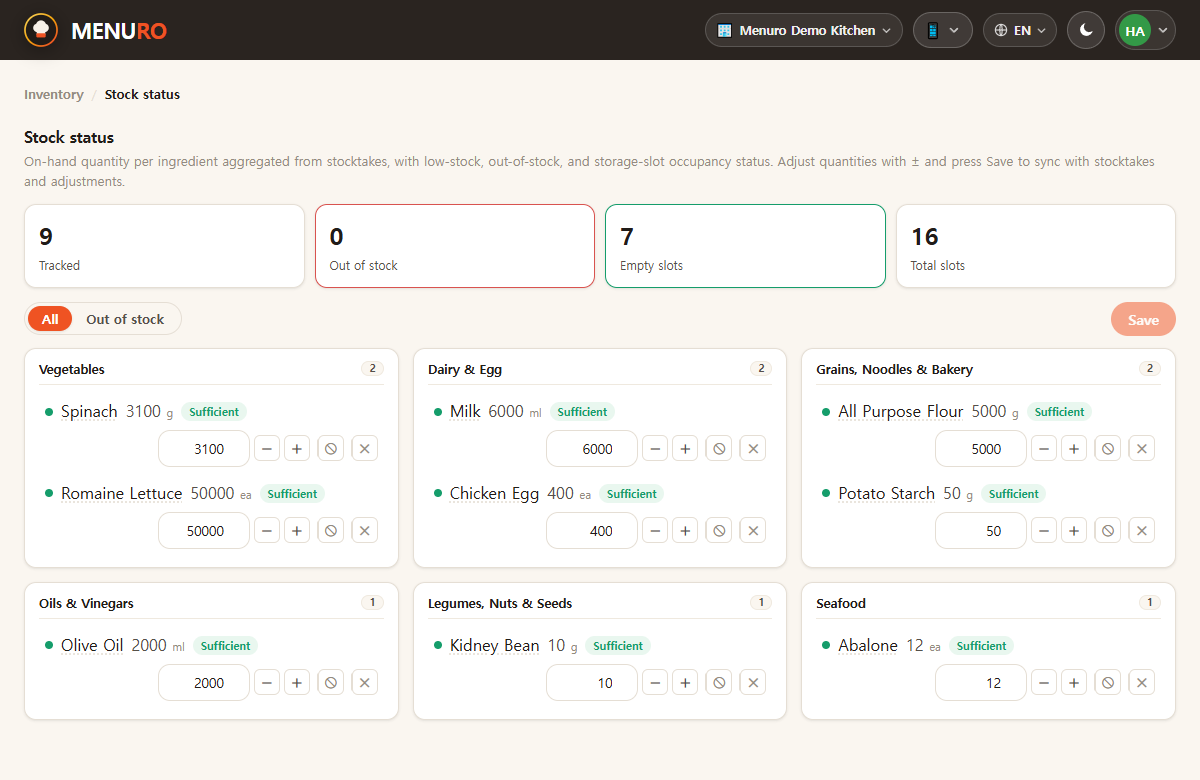 Count what's on hand Set egg to 400 on the stock screen.
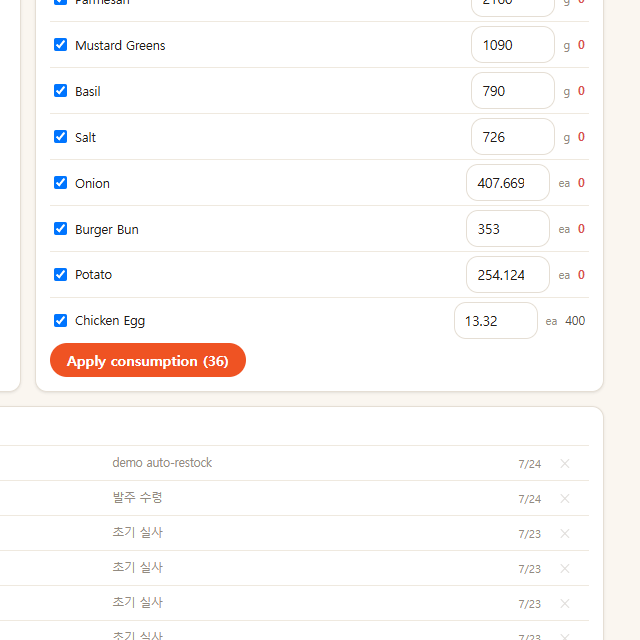 Let it do the math Estimate a date range, then apply the usage.
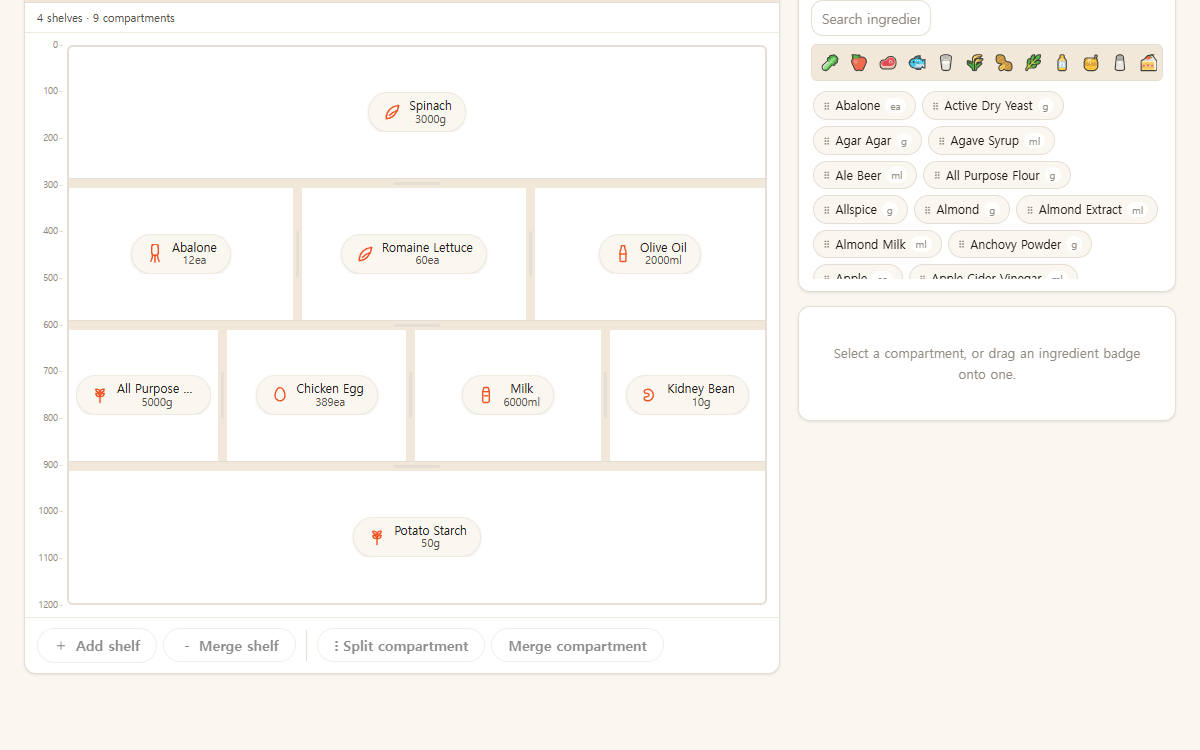 Stock stays in sync Egg drops by what you sold — no manual tallying.
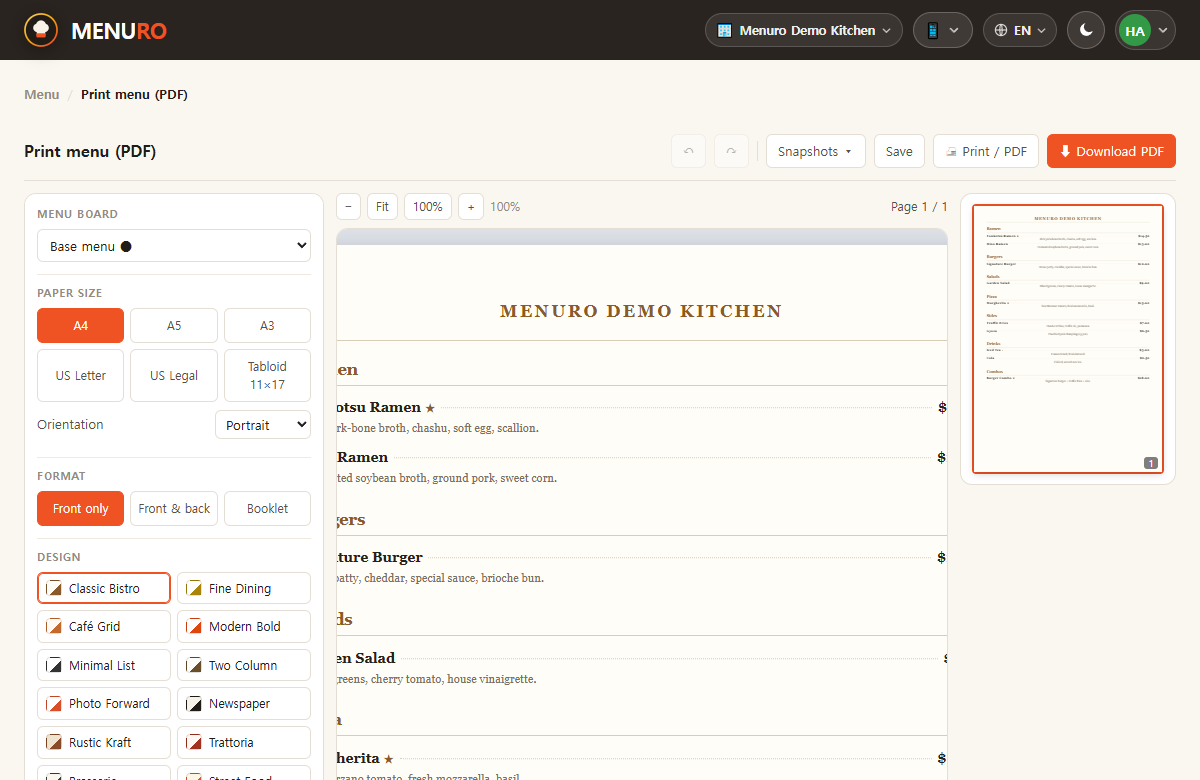 Your menu, print-ready The same items flow into a printable layout.
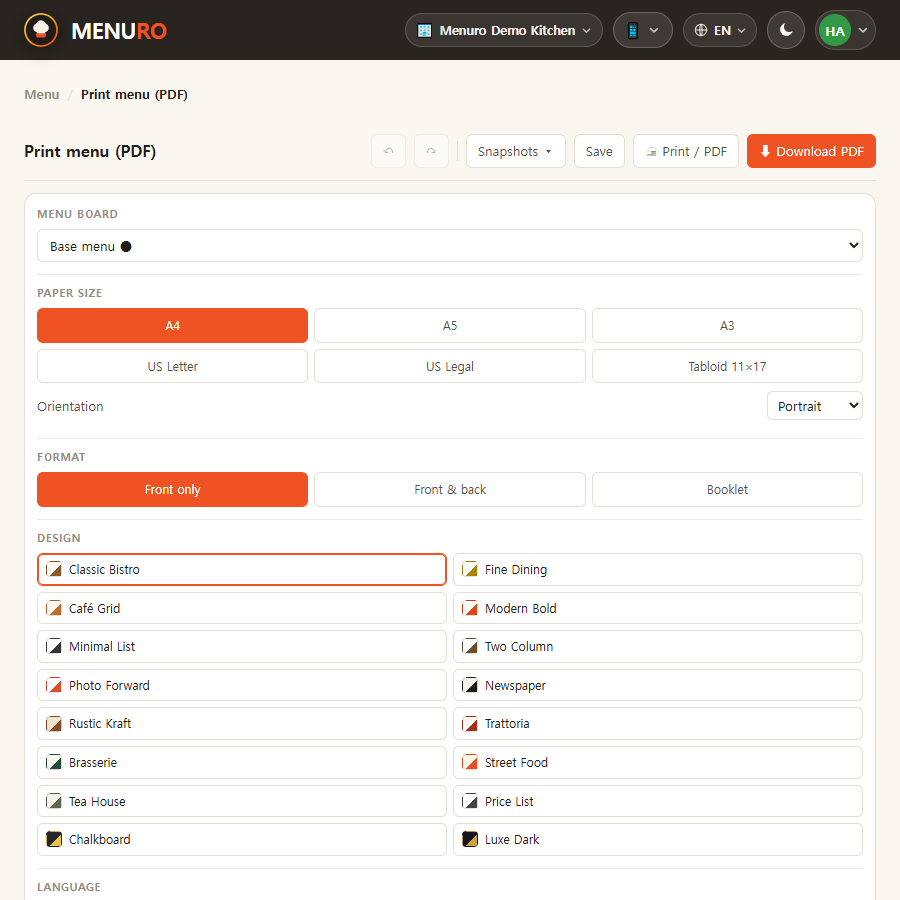
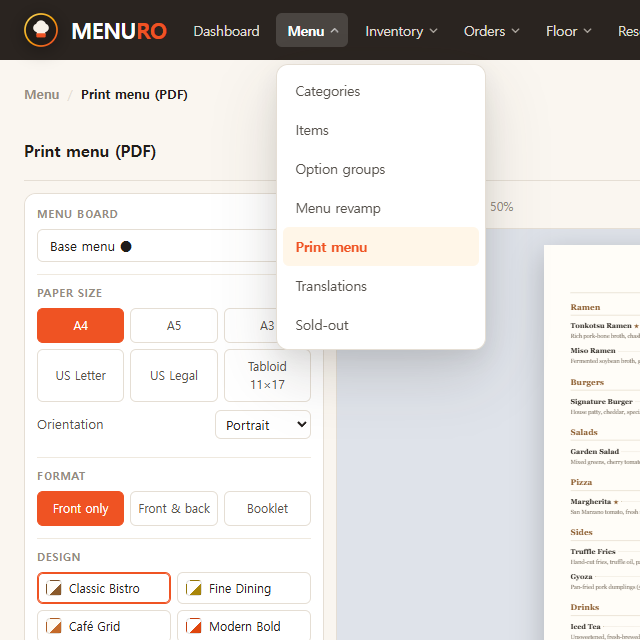 Find it under Menu Open Print menu from the top nav.
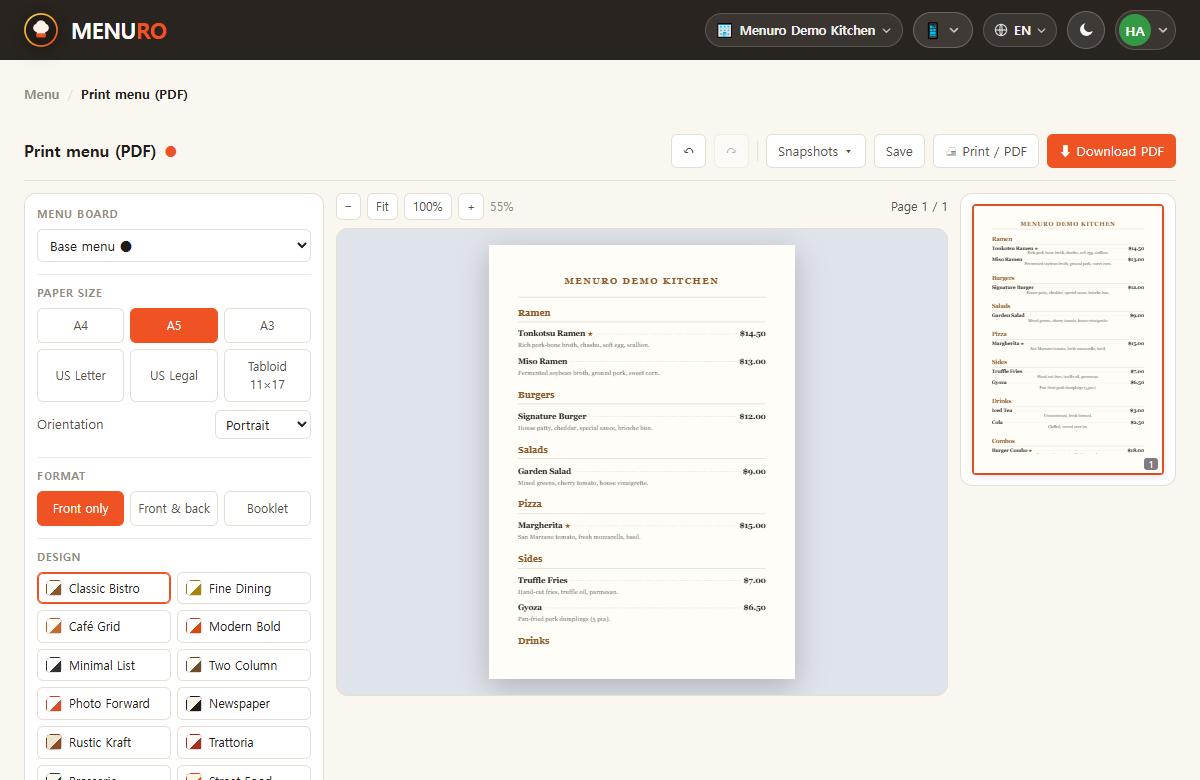 Pick a paper size A4, A5, Letter — the page resizes live.
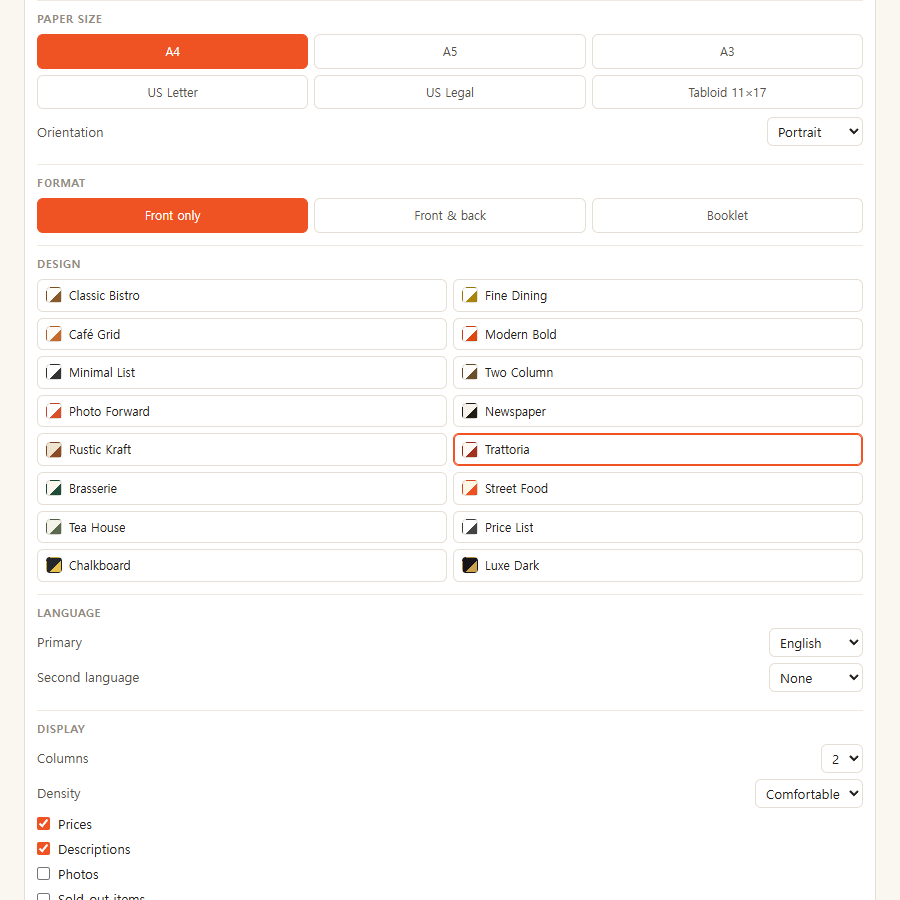 Choose a design Sixteen print themes — try Trattoria.
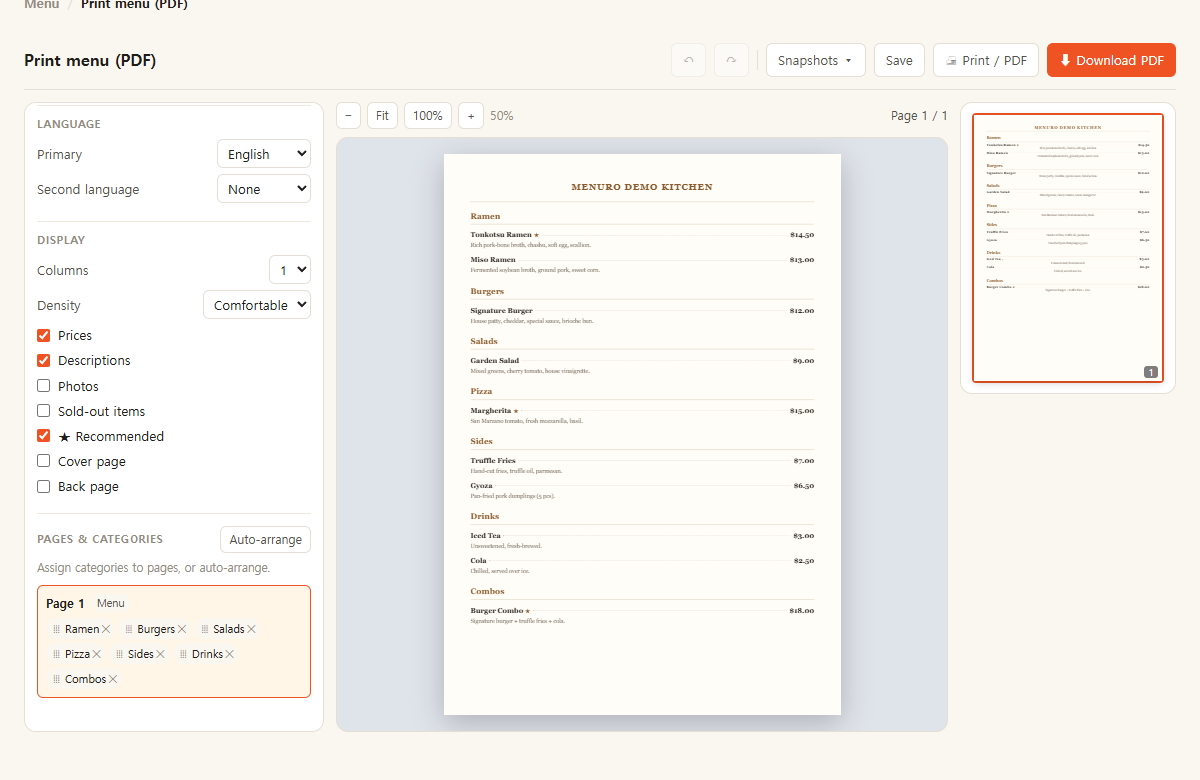 Rearrange with a drag Reorder categories per page.
 Show photos or not Flip dish photos on for the print.
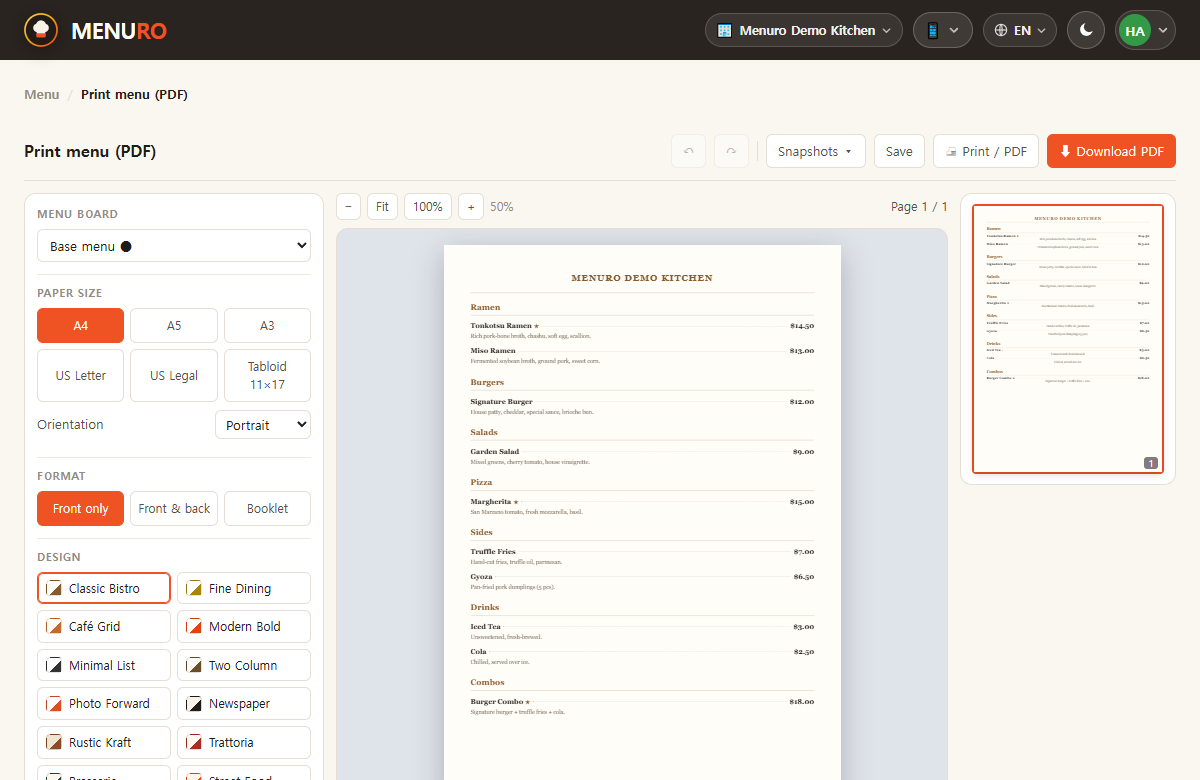 Save it as a PDF Print, or save straight to PDF for the printer.
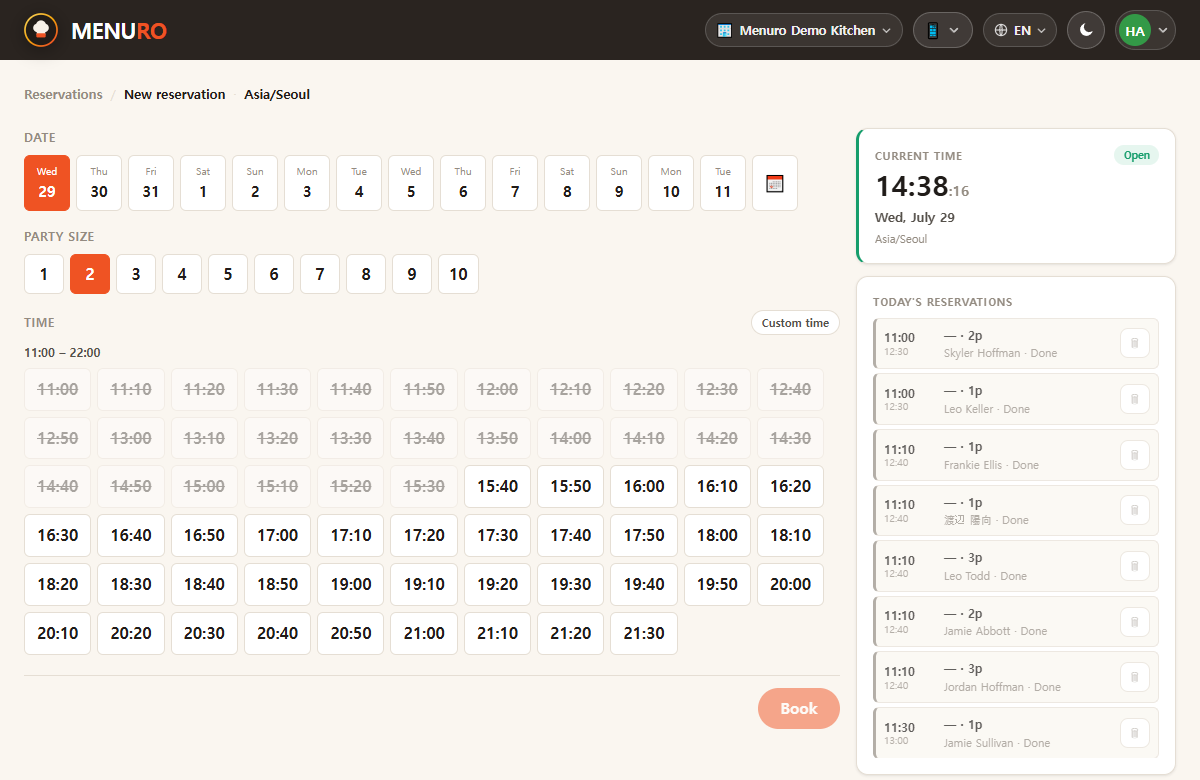 Open a new booking Start from a clean reservation form.
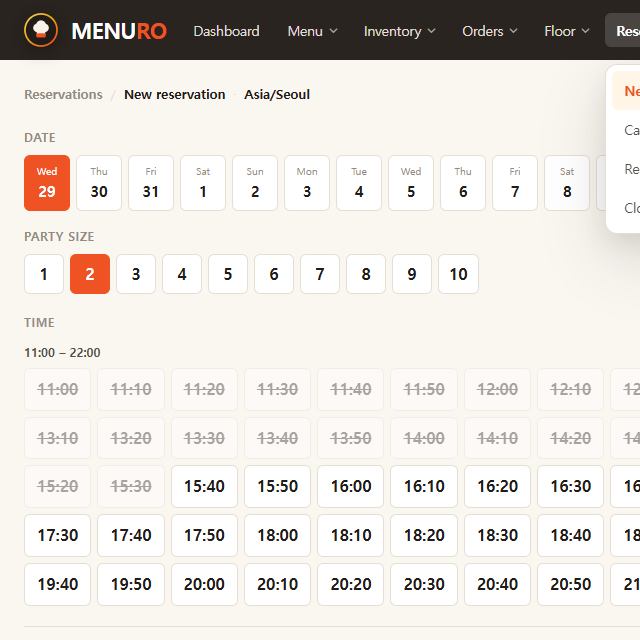 Find it under Reservations New booking lives in the Reservations menu.
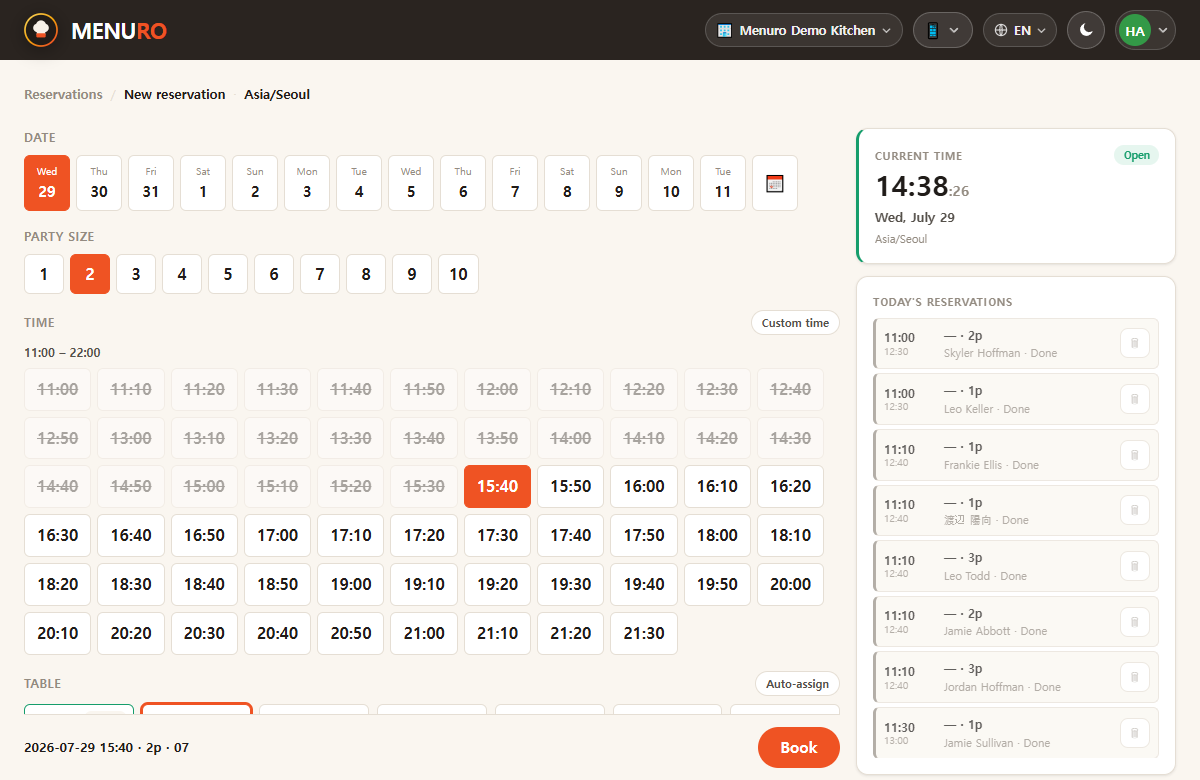 Pick a time and a table Two guests at table 7, an hour from now.
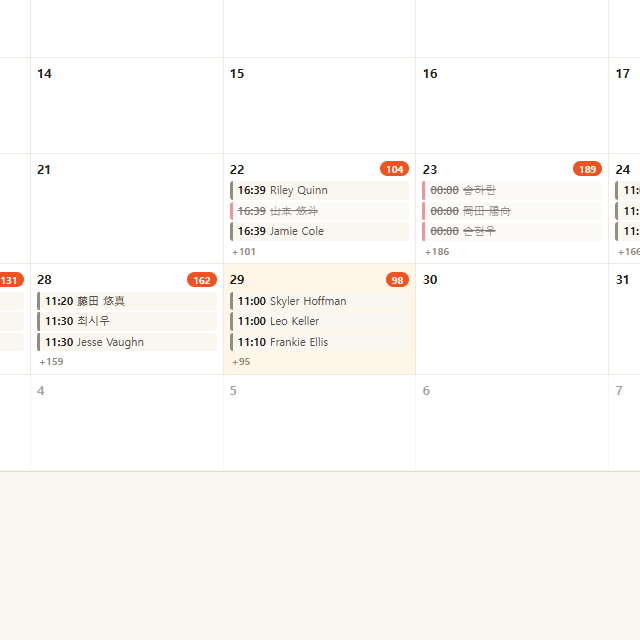 It lands on the calendar The new booking shows on its day.
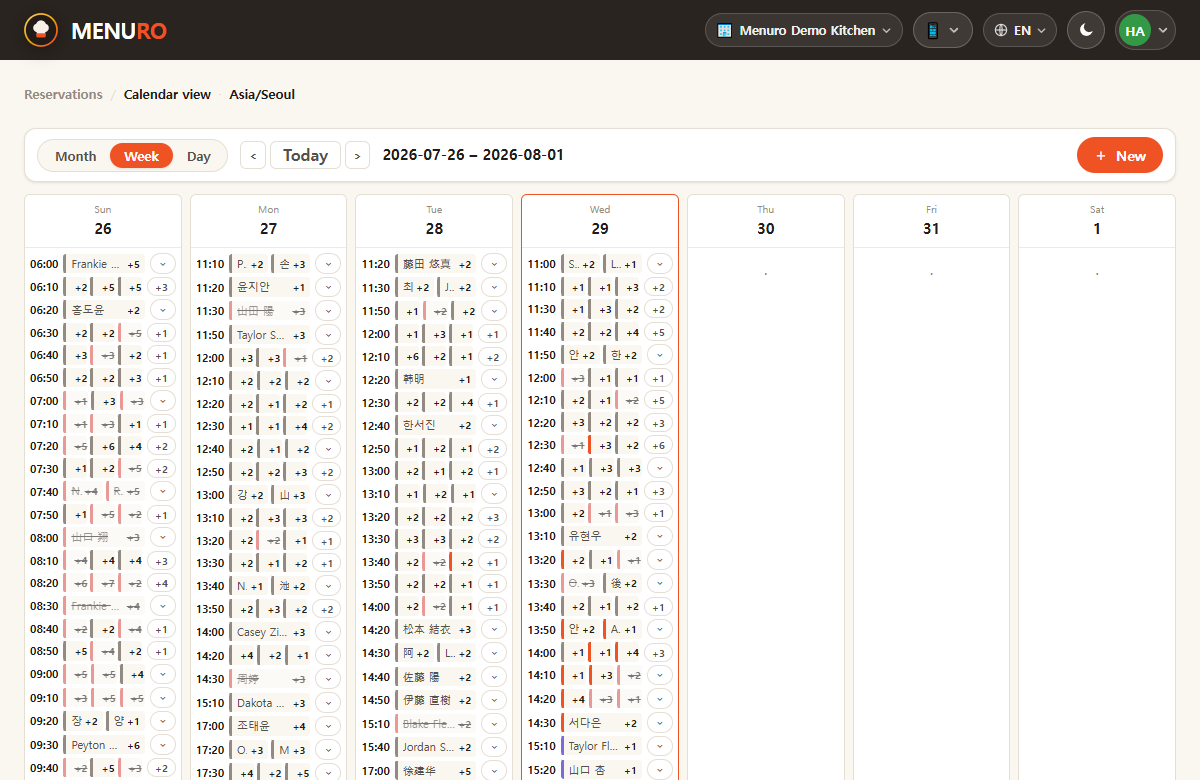 See the whole week Every booking across the week at a glance.
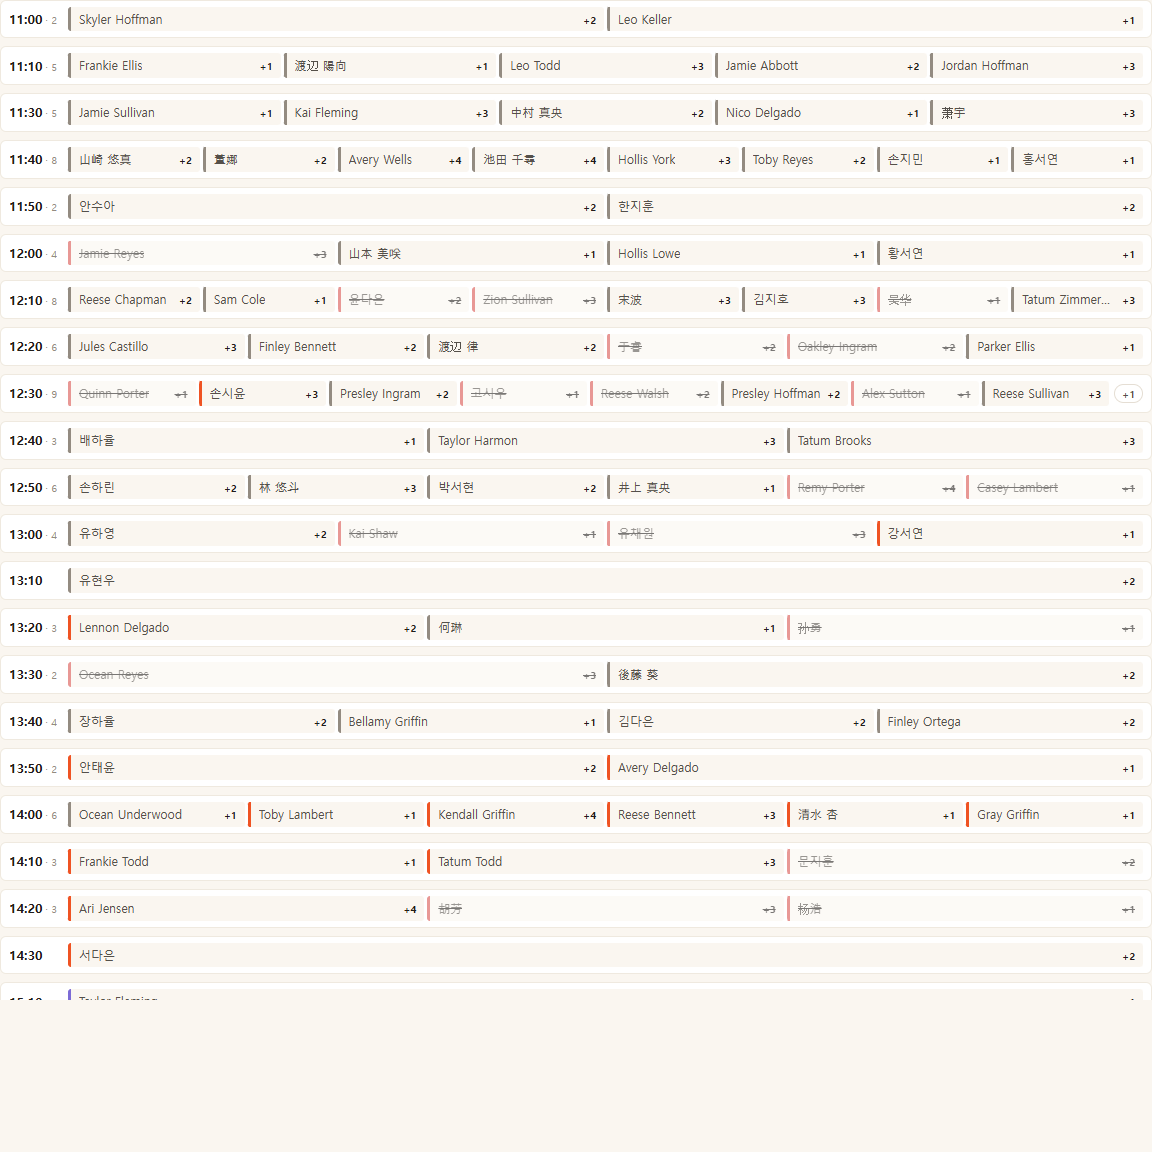 Zoom into a day The day view lays out each time slot.
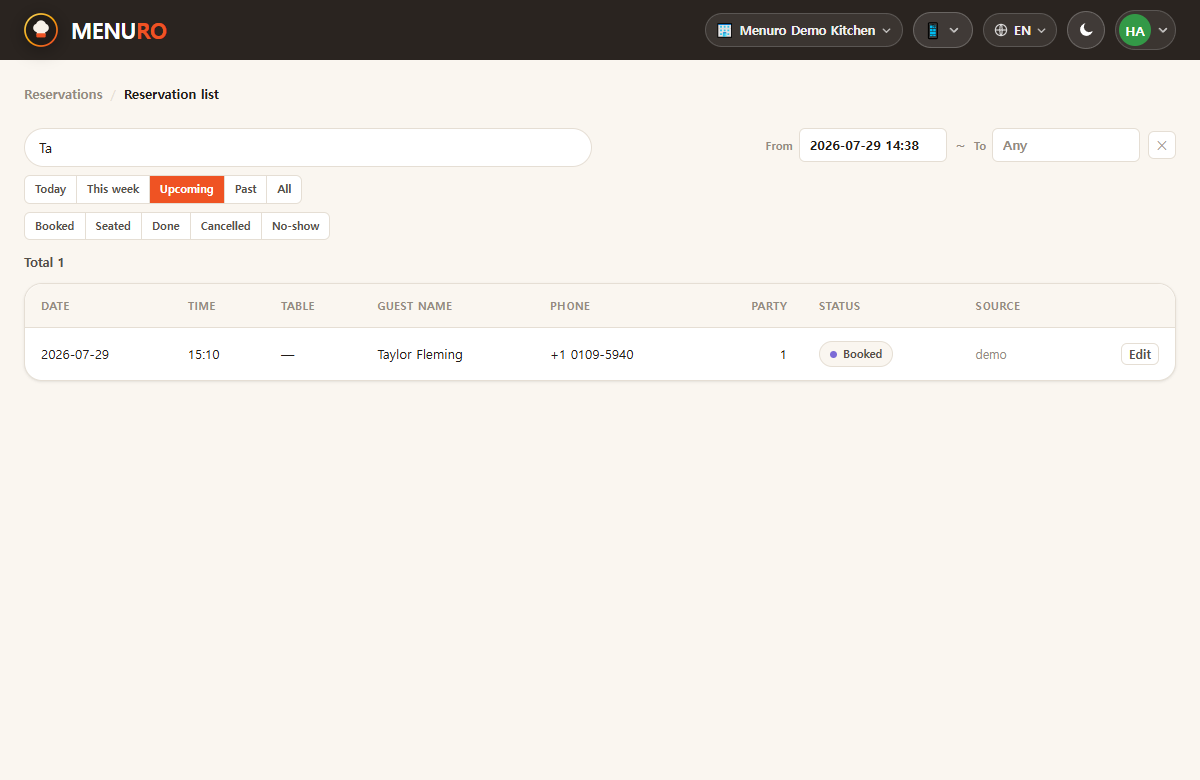 Find a guest fast Type the first letters — matches pop up.
From ordering to the order board and multilingual menus — all in one.
QR, tablet, and kiosk — plus a live order board and printed menus in any language. However your guests order, every order lands right where it belongs: the kitchen and the counter.
Guests scan and order from their own phone.
A fixed table tablet for self-ordering.
Full-screen self-service at the counter.
Live pickup numbers on the hall screen.
Printed and multilingual PDF menus.
Up and running in three steps
-
1
Put your menu in once
Add items, options, prices and photos — translations fill themselves in.
-
2
Pick how guests order
QR at the table, a tablet, a kiosk — turn on whatever fits your floor.
-
3
Start taking orders
Orders drop into the kitchen the moment guests send them — nothing to relay.
Want to see it on your menu?
Book a free demo and we'll set it up with your items and languages.
Request a demo